Currently Empty: £0.00

MARVELLOUS MINT PART 2 – Harvesting and Preserving
If you are a member of The Herb Society and wish to write for the blog, get in touch with your ideas at blog@herbsociety.org.uk
Written for the UK Herb Society by Lynda Warren, Herb Society Ambassador and Public Speaker www.aspoonfulofherbs.co.uk
The photos used in this post belong to Lynda Warren and should not be replicated. All images © 2022
HARVESTING MINT
When to harvest
You can begin harvesting mint in the spring as soon as the plant has several leaves and continue to harvest for as long and as often as possible. Sometimes right through the winter! (Although don’t worry if the plant dies back, when spring comes, so will the new leaves).
Regular harvesting helps keep the mint in check, and prevents it from taking over the garden, it also tells the plant to produce new leaves! So, the good news is – the more you pick, the more plant will grow.
However, for me, this year has been a little different. Those few days of intense heat have killed of the top growth of most of my mint plants. In fact, I’ve just been to the herb garden and cut off all those horrible brown, dried out stems and leaves. Thankfully new signs of life are already beginning to show at the base of the plant.
To get the most out of your mint, harvest at its peak, just before flowering. I like to harvest my herbs around 11am on a sunny day. The dew has dried, and the sun is just beginning to make the most of the oils in the leaves.
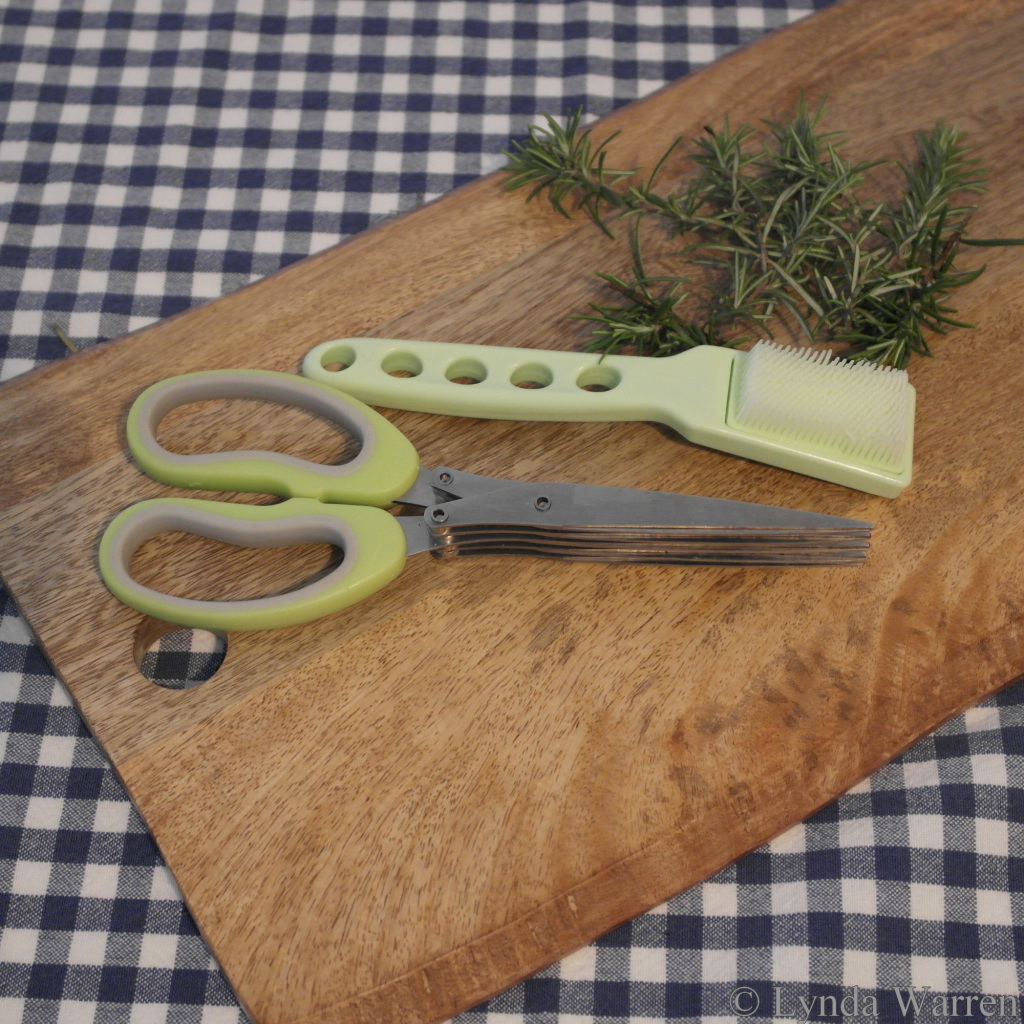
Leaves can either be picked by hand, or the whole stem using garden snips, when you only want a few for cooking. Or use kitchen scissors or shears if you have a large plant or want to harvest in bulk for preserving. In this case, cut just above the third or fourth set of leaves.
Do not harvest by simply breaking off the leaves as it can lead to disease and be sure to use clean sharp equipment. I maintain all my cutting tools once a week during busy times using lavender essential oil, wiping on and off with a cloth. Lavender has antiseptic qualities that will help you get the best from your tools and cause the minimum damage to the plant. It is also food safe.
Whichever way you do it, make sure that you leave around 1/3 of the mint, I also leave as many flowers as I can for the pollinating insects. Some say that removing all the flowers improves the quality of the leaves, I prefer to help the butterflies and bees. The plant should regrow within two to three weeks in summer.
Protecting your harvest
On a really hot day it can help to have some damp kitchen paper and a plastic bag with you to ensure the mint does not dry out too quickly before you return to the kitchen. The herbs can be left in bag in the refrigerator for a few days, or place the stems in a glass of water, trimming the ends first, just like you would a bunch of flowers. You can also buy containers especially designed for keeping your herbs in the fridge. Don’t forget that some of the harvest can be used to propagate new plants, as explained in Marvellous Mint 1: Sowing and Growing.
PRESERVING MINT
Freezing
If you have a lot of mint, one of the easiest ways of preserving your crop is by freezing. They will look a little darker and limp as they thaw, but will still have a fantastic flavour, so try to add them to your recipe whilst still frozen.
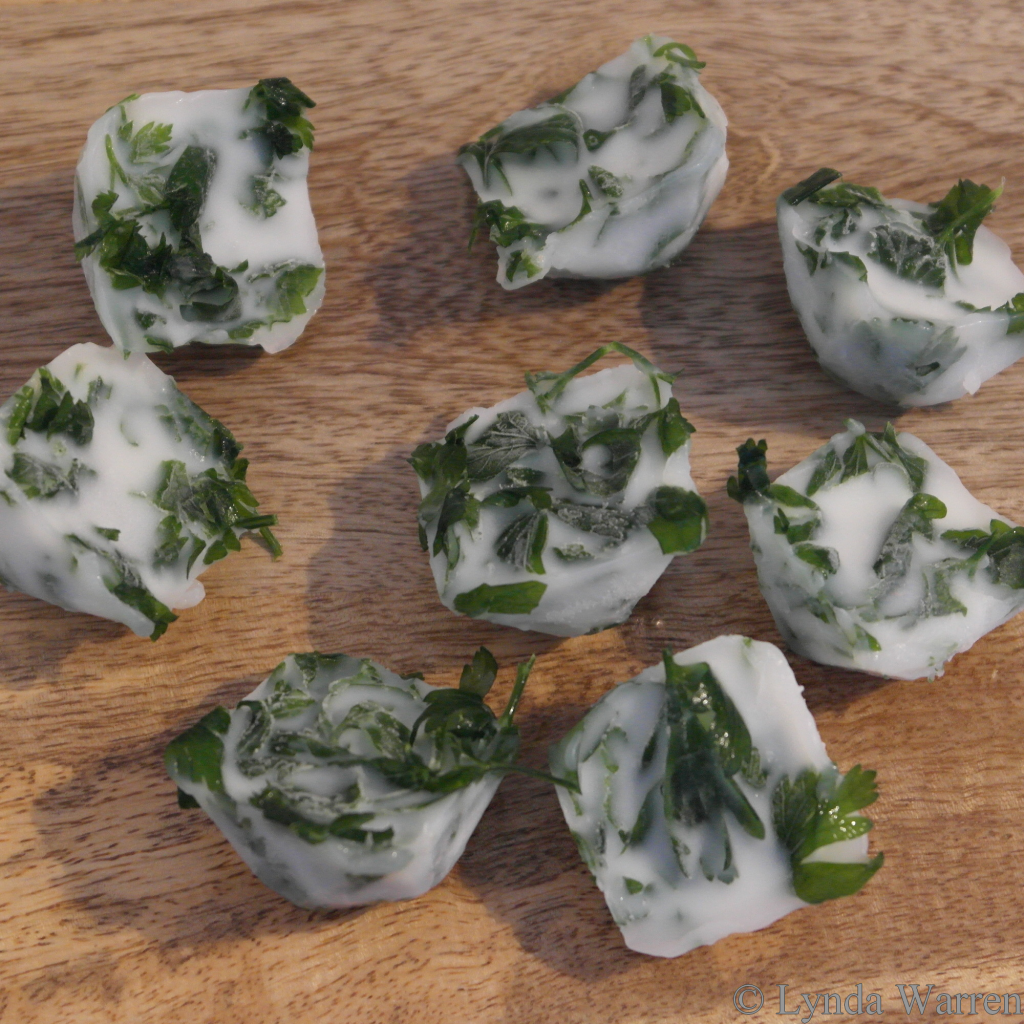
Divide into individual leaves and chop, placing them into ice cube trays, and cover with water or olive oil. One standard ice cube will hold approximately one tablespoon of chopped herbs and one teaspoon of water. Remove once frozen and store in the freezer in a plastic bag. Drop in whole when cooking .A quicker method is to freeze herbs whole in a freezer bag, no need to chop as they crumble under slight pressure on removal.
A herbcicle is specially designed for freezing herbs. When the herbs are needed push them out and grate or chop. However, it is quite bulky, and I didn’t really get on with it when I tried to force the herbs out for chopping. It’s also useful to have a herb scissors, with several pairs of blades they make quick work of chopping up mint, but beware – the blades are sharp – use the little brush that comes with them for cleaning.
Herb butter
Another way of making the most of your harvest is Herb butter (sometimes called compound butter).
For my mint and lemon butter for fish, new potatoes, and other vegetables, all you need is ½ cup of softened butter (I tend to use unsalted so I can adjust the amount of salt), a handful of finely chopped herbs, sea salt and lemon zest. Mince or finely chop the herbs. Finely zest the lemon, add to the softened butter with sea salt to taste and, using a fork or spatula, blend well together.
If using within a few days you can transfer it into a pretty jar with a tight-fitting lid (I tend to put a large piece of the mint and a slither of lemon, if used, on the top to
identify it). Use within 4-5 days.
Alternatively, you can make a herb butter ‘log’. Roll into a log shape, wrap in plastic wrap, label, and freeze. When needed simply cut a slice from the log. This should keep for 6-9 months.
You can use this method for many other types of herbs – why not experiment next time you have a good harvest.
There are three main ways to dry mint:
A dehydrator is good as it uses low heat, around 54°c and you can leave it to ‘get on with it’. Although this does mean an investment of £60 or more.
Oven drying is a bit risky as you must ensure the mint is dry enough to avoid mould, but not hot enough to burn. Lay the herbs on a baking tray, checking they are in a single level. The oven should be set to its lowest temperature, preferably 70°c and check from time to time. It may take two to three hours.Some people suggest drying mint in the microwave. This can be done by laying out the leaves on a plate on a piece of kitchen paper and drying in bursts of just 20 seconds. However, I don’t recommend this as the oils can cause a fire if not monitored correctly.
Air drying is easy to do as you just hang up a bunch of mint somewhere dry, that isn’t humid, at a temperature of 15-20°C. This can take anything from a couple of days to a
couple of weeks.
In all cases, the mint should be dry and crunchy to the touch when dried. Like all dry herbs you will need to ensure they are kept somewhere dry, dark, and not too hot. I find it best to use a glass jar and be sure to label with the type of herb and date.
One of the best-known ways of using dried mint is probably mint sauce. Simply add a little sugar and vinegar to taste and allow 20 minutes for the sugar to dissolve, the mint to regenerate, and the flavours to mingle. Keep in the refrigerator and use within 3 to 4 days. An alternative version is to add mint sauce to a little yoghurt to use with jacket potatoes or roast lamb.
Other ways to preserve mint
Or perhaps make a peppermint extract, although it’s something you can apply to any herb or vanilla, almond or citrus fruits. This recipe makes 120ml, which equates to four of the 40ml bottles you’d buy from the supermarket. Brace yourself… it’s complicated (not!).
You just need 120ml vodka and 4-6 large sprigs fresh peppermint. Sterilise your jar (make sure it’s airtight, like a jam jar) and put in the peppermint. Pour in the vodka. Seal the jar and leave for 1-3 months in a cool, dark place, depending on how strong you want it. Give it a shake whenever you remember. When ready, sieve out the peppermint and decant the essence into its final container to use in your cooking.
Made in a similar way, you can make your own mint flavoured vodka to enjoy in a cocktail or with tonic or sparking water. Follow the stages above and keep in a dark place for at least 5 days, shaking every day. Strain and bottle. A flavoured mint works well here, perhaps orange, chocolate or grapefruit. Although it will store in the cupboard, you get a better flavour keeping the mint vodka in the freezer throughout the process, and when storing. Other alcohol can be used but I find vodka gives the freshest, purest taste.
A mint syrup can be made by heating equal parts of granulated sugar and water in a small saucepan until the sugar is dissolved. Remove from the heat and add the mint springs. Leave until cool before straining and bottling. Delicious cold with sparking water, or hot in tea or hot chocolate. As there is no alcohol involved, keep in the fridge, and use within two to three weeks.
You can also make a mint oil to soothe patches of dry skin. Tear up a handful of leaves and put in a pan, cover with sunflower oil. Leave on a low heat (not simmering for 2 hours. Strain, bottle.
You can also make a slow mint oil for beauty purposes. Cover mint leaves in a jar with sweet almond oil, pressing down to ensure leaves are under the liquid. Shake well, leave 2 weeks on a windowsill, checking herbs are still submerged, strain and bottle. Use both within a month.
Mint allergies are rare, but it is always worth doing a test patch for 24 hours. Allergic reactions can lead to contact dermatitis.
If you have more ideas for preserving herbs, let us know.
Next month, Mint 3 will explore using mint in cooking.
Written by Lynda Warren UK Herb Society Ambassador and Public Speaker. Find out more or get in touch via our Ambassador’s page here.


